If you don’t know this about me already, I am going to make it crystal clear for you: I do NOT like vacuuming. However, as an allergy sufferer and pet owner and of course, hater of dust, vacuuming is necessary. So today, I’m going to give you a little edumacation on how to vacuum a carpet, rug and shag rug. In less than 7 minutes, you are going to be able to dance circles around your mom, local vacuum sales person, or know it all neat freak.
First – let’s talk about WHY you have to vacuum. Carpets are like sponges, they absorb everything from crumbs, debris, pet hair and dander, old snacks, fingernails, you name it. It is our duty as humans to vacuum our carpets to keep our homes healthy. But what if you have hard floors? Well guess what, you still need one! See, brooms are nice, but vacuums rule. Pushing and sweeping dust around kicks it up into the air, so while you might not see that dust for a day or two, it will resettle in no time onto surfaces you’ve already dusted. The idea with vacuuming is, it actually removes dust from your environment and stops the cycle of it being kicked around. I don’t care if you have hard floors or carpets, if you don’t like dust, you need a vacuum. Plus, if you have a rug, you’re going to need to vacuum it.
For 5 Vacuuming Tips which will actually change the way you vacuum, I’ve got a video that I’ll link below for you to check out. https://www.youtube.com/watch?v=nY6SPCxsc4U
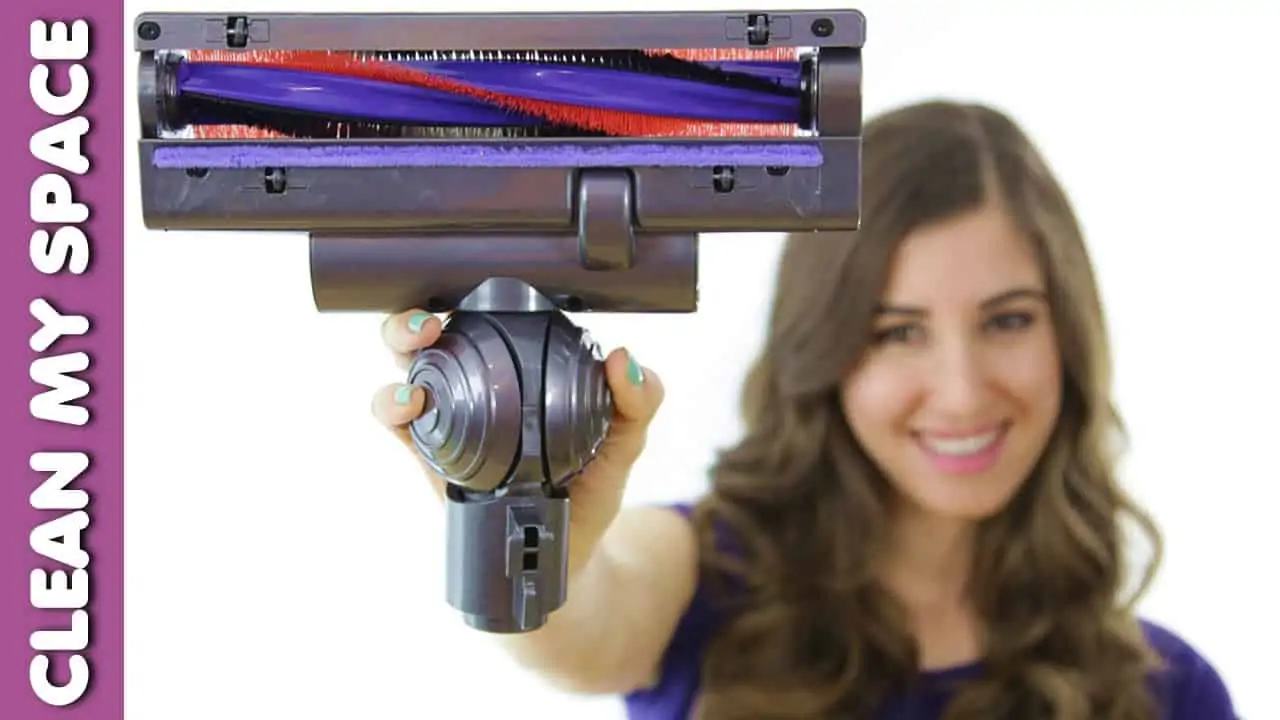
The vacuum I am using for this is my Dyson DC 46 Motorhead: http://amzn.to/1C4M48M
In this post, I am going to teach you the exact science (it’s quite simple) on vacuuming carpeted floors, rugs, and the dreaded shag rug. Let’s go!
When vacuuming a carpet, here’s what you need to do:
- Vacuuming a floor should be the very last task you do – since dirt falls down (gravity!), vacuuming is the true completion of cleaning a room. Vacuum first if there is a copious amount of dust, debris or pet hair, clean, and do a final vacuuming.
- Ensure your bag or canister is empty and ready to go – your vacuum simply cannot work effectively because suction power will be blocked by the debris already contained in the canister or bag. Further, this can overheat the motor and lead to damage.
- Pick up any large pieces of debris or toys before you start – larger items can actually ruin your vacuum attachments, so spending a couple of minutes picking up anything which could be potentially harmful is a wise choice. Avoid temptation to suck up that paperclip!
- Move any moveable furniture or items before starting – having an unencumbered space is nice, so if you can move anything temporarily, it’s always easier and allows you better cut lines.
- Select the right attachment or setting on your vacuum – here you’ll want to use the powerhead or beater bar, which helps brush things like dust and hair out of the carpet and that’s also what gives you those pretty cut lines.
- Plug your vacuum in closest to the exit point of the room – that way, you won’t need to run across your freshly vacuumed floor to unplug it, and you’ll also be able to keep the cord behind you at all times, which is proper vacuuming etiquette.
- If you plan on doing any corners or baseboards, do those first and vacuum your floor last.
- Start vacuuming at the opposite corner of the exit point of the room – this way, you can ensure not to vacuum yourself into a corner
- Work in sections, applying the ‘W’ pattern to each section – using the wall as your guide, push the vacuum up along a section of the wall, and pull back down on a slight angle, then straight back up, and pull down on an angle. Work your way around the room, section by section, applying the technique. Your floor will look picture perfect.
When vacuuming a small rug, here’s what you need to do:
- Plan to vacuum your rug before your clean the floor beneath it – that way any debris coming off that rug will fall onto a surface which will be cleaned afterward, and not require a re-clean.
- Ensure your bag or canister is empty and ready to go – your vacuum simply cannot work effectively because suction power will be blocked by the debris already contained in the canister or bag. Further, this can overheat the motor and lead to damage.
- Pick up any large pieces of debris or toys before you start – larger items can actually ruin your vacuum attachments, so spending a couple of minutes picking up anything which could be potentially harmful is a wise choice. Avoid temptation to suck up that paperclip!
- Select the right attachment or setting on your vacuum – Depending on the type of rug (and I encourage you to check the care label), you can either use the powerhead or a small brush attachment, depending on size and material. Be mindful of fringe and tassels, they can get sucked up and wrecked in a jiffy if you’re not careful.
- Use your feet to secure the ends of the rug – keep areas taught with your feet while vacuuming, that way the rug won’t flip up during cleaning, making it difficult to manage.
- Clean the area underneath the rug before replacing – vacuum this area and mop if required. Once dry, replace the rug in it’s proper space.
Here’s how to vacuum a shag rug:
- Plan to vacuum your shag rug before your clean the floor beneath it – that way any debris coming off that rug will fall onto a surface which will be cleaned afterward, and not require a re-clean.
- Ensure your bag or canister is empty and ready to go – your vacuum simply cannot work effectively because suction power will be blocked by the debris already contained in the canister or bag. Further, this can overheat the motor and lead to damage.
- Pick up any large pieces of debris or toys before you start – larger items can actually ruin your vacuum attachments, so spending a couple of minutes picking up anything which could be potentially harmful is a wise choice. Avoid temptation to suck up that paperclip! You might have to dig a little with a shag rug, or wait until after step 5.
- Select the right attachment or setting on your vacuum – a shag rug requires a two-step vacuuming process, and you’ll need the powerhead for the first step and a small brush attachment for the second step.
- Flip the rug over – this will expose the backside of the rug. You might need someone to help you with this part depending on the size of the rug.
- Vacuum the back of the rug with the powerhead or beater bar – Using your feet to carefully secure the edges of the rug so they don’t flip up, vacuum the back of the rug using careful strokes. this helps shake out and loosen debris, which will fall onto the floor below the rug. Be extremely careful not to catch any shag in the powerhead.
- Roll the rug up and place aside
- Vacuum the area underneath which has been dumped on – obvious!
- Unroll and reposition the rug facing right side up and remove any loose debris – use a small brush attachment to do this – too much suction can be permanently damaging to the rug. If you are unsure about this, test a hidden spot first and review care instructions before vacuuming the rug.
For more cleaning tricks see our E-Book Bundle! It gives you three fantastic e-books full of cleaning secrets that I have learned throughout my 20 years in the cleaning business.
Since I get asked a lot about the vacuum(s) I use, check out my detailed review of my Dyson DC46! Here’s a link to the vacuum on Amazon, in case you are interested! http://amzn.to/1C4M48M
I hope this has helped explain how to vacuum a carpet, how to vacuum a rug, and of course, how to vacuum a shag rug! Please let me know your vacuuming tips and tricks, and of course any questions you have below. Enjoy!
To see this demonstrated, watch the corresponding YouTube video!
Looking for a BETTER & EASIER Way to Clean Your Home?
Cleaning Expert Melissa Maker is here to help with her game-changing 3 Wave Cleaning System that will help you clean your house faster and easier than you ever thought possible!


I like to vacuum my rooms in sections (as you explained in the video) but also vacuum them twice, the second time being at a 90° angle to the first time around. So I’ll vacuum E-W, and then go back and vacuum N-S, but using those cut lines (I didn’t know what they were called!). Not sure if this actually helps, but it’s how I do.
Great information which you shared with us above. I will always keep all the things in my mind when I planned to vacuum my carpet, rug & shag rug. Thanks
It is nice to learn all tips like this. I think you will check my restadvice to see if it is good.
I recently purchased a vacuum cleaner but I wasn’t happy with its performance on carpet but after watching your video and following the guide I got much better result. thank you
I am planning to buy a best vacuum cleaner for pet hair, please recommend one. Thanks
It is nice to learn all tips like this. I think I will check my vacuum to see if it is good.
Why aren’t there diagrams to show housekeepers “How-To” on cleaning the corners of area rugs, without ruining them?
Found the video very interesting on how to clean a shag rug, but how do you vacuum a shag wall to wall carpet?
What is the right speed at which to push and pull the vacuum over a carpet? I tend to go slowly, my family members go at top speed and I feel this just doesn’t clean as well. What are your thoughts?
You didn’t tell me how to clean the area rugs with the Dyson, the suction is so strong that it’s a wrestling match trying to accomplish this task I have come to the conclusion that I have to shake my rugs outside, very disappointed in the Dyson vacuum, hose is also ve rry difficult to use.
Dear Melissa,
My husband and I recently washed our carpet but the weather wasn’t very good that day and now it smells like a wet dog…we live in Malaysia where it’s hot and the first time we washed it on a sunny day, it was fine the next day.. Not sure what to do now…pls help…
I have 3 rugs in my apartment, all with the same problem. They have a latex rubber backing. The problem is that due to the heat in my apartment, over time they have started to get dried out and now I have a powdery mess. Yikes! I always turn the rugs over to vacuum the loose powder first, before turning it over to vacuum the rug fiber surface. I do this every time. I’m ready to throw them out and start with new ones. I will never buy rugs like this again. But is there a way to salvage my rugs? Can I treat the back with something that will prevent the latex from shedding. What do you recommend?
Hi Gerry. I’ve had latex backed rugs in the past, and always used underlay (available in different types) between the floor and the bottom of the rug/carpet. The cheapest way of course is to use newspaper…espeicially the broadsheet type, they are quicker to put down and can be changed easily. Use a couple of broadsheet pages overlapped for your first row, then place your rug on top to keep the paper still. When you have placed your second row down, if the rug is large, ask another person to help to unroll the rug slowly onto the second row. Repeat this process until you have laid as much as you need.
I love your videos Melissa. My housecleaning class at school watch your videos to get ideas on cleaning. This video made my class laugh.
Funny, vacuuming is my favorite cleaning tasks, where as most others I despise. I also have two cats, two long-haired Persian cats, so vacuuming is an every other day process for me. But so satisfying, especially with a Dyson. 🙂 You can see my cats and my home care here: http://www.meowlifestyle.com
Best way to clean carpet around crawling babies?
Upright Vacuum would do the job in better way. But I would opt Robotic vacuum cleaner when I will a baby crawling, but I doubt Robot would do good cleaning of Carpet. Let Mellisa answer it for us. ????????