It’s the one thing that you can find in almost every home. Wooden cutting boards have become a staple item in kitchens everywhere. They provide a hard, durable surface for all your chopping and dicing needs. But many people don’t know how to properly care for their cutting boards. Unlike plastic boards, they can’t be put in the dishwasher and require a little TLC to ensure they last for years. Wood cutting boards are great for most fruits, vegetables, breads and cheeses. Super soft cheese and raw meat, poultry and fish should be cut on plastic boards only.
Step 1: Cleaning
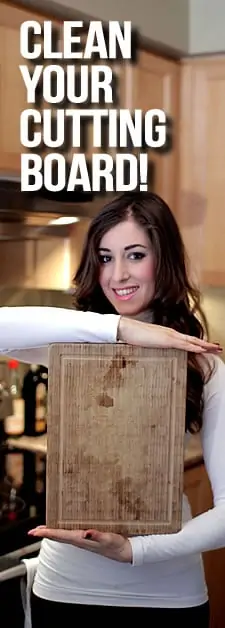
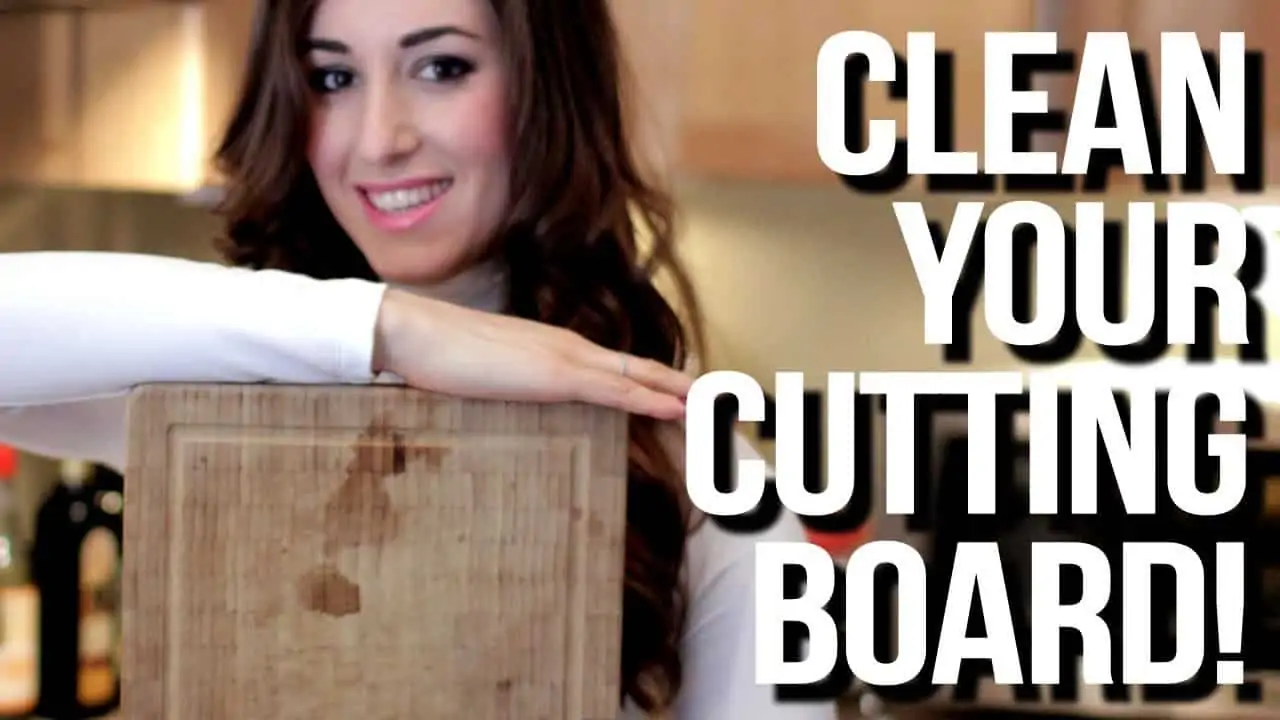
The first step to a clean cutting board is cleaning it after every use. The longer it is left sitting, the more likely odors and stains will find their way into the grain of the wood and make it their home. After each use, wash using a soft sponge or cloth and a bit of soap. Next, rinse with hot water and wipe clean, leaving it in an upright position to allow it to dry properly.
Please note: Never submerge your cutting board into a sink of water! Wood is a porous material and will soak up water, causing the cutting board to warp and crack as it dries. This also means that you should not put it in a dishwasher. When not in use, your cutting board should be kept in a dry place, away from moisture that can cause damage.
Check out Maker’s Clean Microfiber Cloths and step up your cleaning game!
Step 2: Disinfecting
It’s important to note that cleaning and disinfecting are two different things. A quick wipe may create a clean ‘looking’ surface, but not necessarily a disinfected one. Disinfecting kills germs and bacteria to prevent it from spreading while cleaning removes any surface residue. So, after you have cleaned your cutting board, you have a few options when it comes to disinfecting.
First, you can wipe the board down using a cloth or soft sponge and undiluted vinegar (aka don’t water it down). We find it’s easiest to put it in a spray bottle to prevent using too much at once. This method can be done after each use.
Second, you can sprinkle coarse salt over your cutting board. Using a lemon cut in half and a little elbow grease, scrub the board for a few minutes. As you scrub, squeeze the juice out of the lemon. The acid in the lemon will help disinfect the board while the salt acts as an abrasive agent to get rid of any leftover food or stains. Let it sit dampened for 5 minutes or so after scrubbing. Then rinse with hot water, drying with a paper towel or clean cloth and store it in an upright position. This method is suggested to be done once a week or after a few uses.
Lastly, you can make a paste using baking soda and water or vinegar. Similar to the salt, baking soda has an abrasive property to help get into the nooks and crannies of the board to lift and remove food remnants. If vinegar is used, it will help to kill some of the bacteria and germs that are lingering on the surface. Use a clean cloth or sponge to spread the paste, rubbing it in to all areas of the board. Let it sit for a few minutes before rinsing. Again, dry using a paper towel or cloth and leave it upright to dry.
Step 3: Seasoning
The term ‘seasoning’ in terms of a cutting board basically means to condition the board. This helps to prevent the wood from drying out and cracking. This is especially important if you are using a butcher’s block. When seasoning a board, do not use vegetable-based oils as they will turn rancid.
Mineral oil is recommended for seasoning wooden cutting boards. Before use, it’s suggested that you warm the oil before spreading it onto your board. Using a soft cloth or paper towel, rub the warm mineral oil into your board, following the grain of the wood. You don’t want your board to be dripping in oil but you don’t want to skimp on it either. Ideally, you want to continue to apply the oil evenly until the wood stops absorbing the oil. Once you reach that point, use a clean, dry cloth or paper towel to remove all remaining surface oil. The oil seals the pores of the wood and helps prevent moisture from seeping into the board. Let it dry overnight before using it. For best results, season your board once a month, or more often if it’s used frequently.
As you can see, there is some effort required to keep your wooden cutting board in good shape. If you’re able to follow these 3 easy steps, your wooden board will stay near and dear for years to come. Although we have suggested completing different steps at different times, feel free to customize any of these tips to fit your timing and usage needs.
See our E-Book Bundle to take your cleaning game to the next level! It gives you our top 3 e-books (my 3 Wave Cleaning System, 50 DIY Cleaning Recipes, The Complete Guide to Essential Oils) and will give you the perfect start to a fresher and cleaner home!
Looking for a BETTER & EASIER Way to Clean Your Home?
Cleaning Expert Melissa Maker is here to help with her game-changing 3 Wave Cleaning System that will help you clean your house faster and easier than you ever thought possible!









[…] la planche à découper peut garder de nombreux résidus même après lavage. Pour bien lanettoyer, il suffit d’utiliser un demi-citron et du sel pour nettoyer la surface de la planche. Laissez […]
I use glass ones. Whenever I have has wood or plastic boards in the past, I have found them hard to keep clean due to the grooves which develop from cutting. Glass ones are great as this doesn’t happen. Much safer!
[…] la planche à découper peut garder de nombreux résidus même après lavage. Pour bien lanettoyer, il suffit d’utiliser un demi-citron et du sel pour nettoyer la surface de la planche. Laissez […]
[…] un effet désodorisant sur votre outil de cuisine. Pour cela, utilisez une épluchure de citron que vous aurez préalablement trempé dans du sel. Une alternative saine et naturelle pour […]
[…] Cutting board, chopping block, whatever you call it, they get nasty over time. Learn how to clean, disinfect and season them right here, right now! Melissa Maker shares her ways.The blog has more: https://cleanmyspace.com/cleaning-your-cutting-board/ […]
Wow. This is a great article. It has more useful information for cleaning a cutting board. I learned a lot from it. Thanks for sharing this.
I have a wood cutting board that I only use for onions so the odor doesn’t transfer to other foods, especially fruit!
Ah! That’s clever! I think having a “fruit only” board is a strategy many people use too.
Our new wooden cutting board developed a smell after using it once. My husband sprayed pledge wood cleaner on the board then rinsed it in water, thinking that would solve the problem. Now I am afraid to use the board since the chemicals in pledge are not food grade. Is the board now trashed or safe to continue using?
Do you need to season the backside of the cutting board if you only use one side?
Melissa how to remove stains and odour from plastic cutting boards
good information, most people don’t know and or understand how to do this correctly. I make alot of cutting boards and have always used mineral oil, then I use a mineral oil and beeswax mixture that I make to protect the wood. It can also be used to revive a board.
Michael
End Grain Cutting Boards
Why should we not use wooden cutting board for cutting raw meat, poultry and fish?
Because the wood absorbs the “juices” from raw meats. It doesn’t matter how you much you clean or disinfect your cutting board. The easiest way to prevent food borne illnesses is to have separate cutting boards for fresh fruit/veggies and one for all your meat. The meat will be cooked fully, so that is why you don’t get sick from eating it. Imagine eating your raw veggies with chicken juice covering it! You just can’t see it 😉
Oh! Thank u so much Harmony!
There is no button for a thumbs up or subscribe on any of these very good videos
[…] Cleaning Your Cutting Board! – Clean My Space […]