There are so many things in your house to keep track of. Honestly, who has time for it? Life is busy. But these things do need to be cleaned every now and then. And even though they might not be screaming, “Clean me!”, we still need to pay attention to them. So, this is a little nudge from your good friend Melissa telling you, “Hey! It’s time to clean these five things!”.
Decorative / Throw Pillows
We lie on them. We sit on them. We lean on them. And honestly, over time, they get dirty. If you give your pillows a good thwap and notice a dusty cloud appear, don’t worry, you’re not alone. Just last week I was fluffing up some throw pillows on my couch and experienced this exact situation. It was pretty gross. When it comes to cleaning the, there are a few different types of pillows, the first is the type with a removable pillowcase. Don’t worry too much about cleaning that filler pillow (if you do want some information on cleaning these we have a video about how to clean pillows) and start by checking the care label on the pillowcase and see if it’s machine washable. If it is, go ahead and put it in the machine. I always recommend using gentle detergent and cold water, but, just follow the care label and you’re all set. If it’s not machine washable, you can spot clean it with a little bit of all purpose cleaner, or a stain remover, and then hand-wash it ensuring you rinse thoroughly so you don’t have any soapy residue left behind. In either case (machine or handwash), I recommend hanging to dry, these things tend to shrink so I avoid putting them in the dryer.
The second type of pillow are those that can’t have the case removed—it’s essentially all one piece. Start by spot cleaning as noted above, and follow up with a vacuum with a brush attachment (or a mini beater-bar if it comes with one), and note that you can use a lint roller to pick up any stubborn debris from the pillow. If you find there are unpleasant odors lingering you can make your own DIY fabric spray, or use a store-bought one, whatever you prefer. Simply spritz your pillows, let them air out and that will really help freshen them up.
And finally, there are those really expensive pillows. Do yourself a favor and take them to your local dry cleaner and let them handle it. They will know all the techniques to clean these up.

Purses
A purse, a murse, or a laptop bag. If you’re often carrying something around with you more than likely it’s got some build-up in there. Receipts, gum wrappers, crumbs, the list goes on. For me, it’s bobby pins, granola, and parking stuff. I recently downsized from a big purse to a little one because I thought, “Well, if I have less space, there’s going to be less stuff in there”. Well, that did not go according to plan. SMH. When it comes to cleaning these out I start by turning it upside down and dumping everything out—make it rain! Then, start sorting through it all. Create a pile for anything that you’re going to replace, and a separate pile for anything you can either throw out, recycle, file, or put back where it belongs. Next, get yourself a lint roller and roll around the inside of your purse. This is a great way to get rid of any crumbs or debris stuck in the fabric. For the nooks and seams, I suggest a vacuum with a crevice tool. Now, if you notice any stains on the inside of your purse you don’t want to clean it with a harsh product. I would just use a little bit of all-purpose cleaner and a microfiber cloth. Once that’s done, I’ll replace all the items from my “keeper” pile back into my purse.
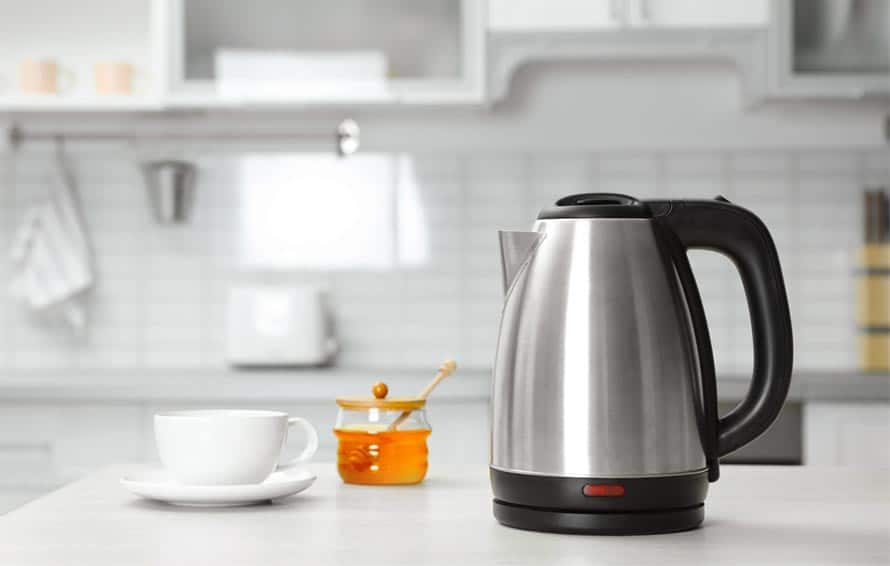
The Kettle
I love drinking hot water, so it’s safe to say I’ve seen a lot of kettles in my day. Even though I know that that white crusty stuff at the bottom of the kettle is completely harmless, it’s just really gross to look at. So, as soon as mine starts to get that white crusty build-up, I just give it a quick cleaning, and honestly, it could not be easier and it does double duty. So, what I do is I fill my kettle all the way up with plain white vinegar. Then, I just boil it. I let it rip. I let it go. Once it’s boiled, I just dump that vinegar down my sink. This is a great little drain cleaner as a fun byproduct of this cleaning task. Then, I give the kettle a quick rinse and it’s good to go. It looks nice and clean. Literally, no elbow grease on my end and I have a beautiful shiny kettle. For more detailed info on this, read How to Clean An Electric Kettle and Stovetop Kettle.

The Beater Bar
Now, a lot of you guys know I hate vacuuming with a passion. And, what’s worse, is vacuuming with a machine that’s just not doing its job. We all know to empty the canister and change out the bag as needed. That’s not what I’m talking about here. What I’m actually talking about is the beater bar/power-head; that thing that’s at the bottom of your vacuum with those rotating bristles that are designed to lift up dirt, hair, and debris from carpets. Over time, your beater bar starts to get all those strings and hair tangled up in it. If it’s full of all that stuff, it’s not going to be able to effectively do its job, and you’re not going to get that good quality vacuuming that you’re looking for. So, get yourself a seam ripper or a pair of scissors, flip over that beater bar and start to remove all of that hair and those strings caught in there. It should take you under 2 minutes, but I promise you, once that’s done you’ll see the quality of your vacuuming go up.
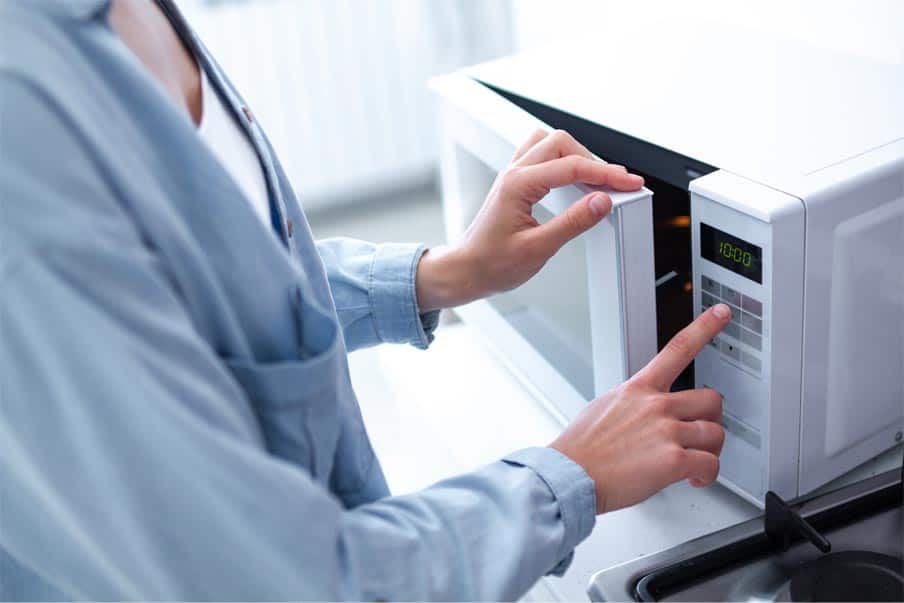
The Microwave
I don’t use the microwave that often in the house but I’ll tell you who does, my husband. He makes this nasty mac and cheese and I always tell him, “Please, just put a lid on it”. He never does. So, over time, our microwave gets macaroni (among other things) all over the place. Cleaning the microwave is something I’ve definitely become an expert at, and I’ll tell you exactly how to do it. I get a bowl and I fill it about halfway with white vinegar and then add some water to top it up. Take that bowl, put it in the microwave and heat it up for about 3 minutes. Now, when you take it out, make sure you’re careful—it’s hot! Get yourself a good quality microfiber cloth and start to wipe down the sides and the base of the microwave. The vinegar and water will help loosen up any of that crusty debris on the side of the microwave. This works so well. It’s the easiest way to clean your microwave and I promise you it will look like new.
Looking for a BETTER & EASIER Way to Clean Your Home?
Cleaning Expert Melissa Maker is here to help with her game-changing 3 Wave Cleaning System that will help you clean your house faster and easier than you ever thought possible!


