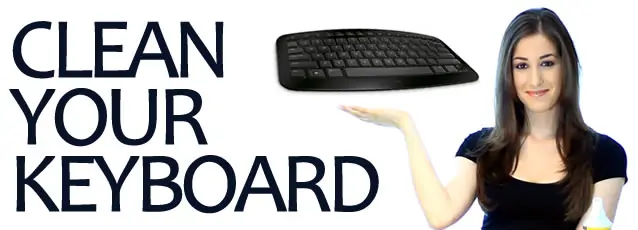
Wondering the proper way to clean your keyboard?
We’ve looked at the manufacturer’s instructions to determine the safest and most effective way to clean a standard keyboard and this is how it’s done.
Some people may wonder, how do I disinfect a keyboard? Because we have the ability to use rubbing alcohol knowing it won’t harm the keyboard, we use a 50/50 mix of rubbing alcohol and water to disinfect the keys.
Items you’ll need: Compressed air, cotton swabs, cleaning toothbrush, rubbing alcohol, water, and a microfiber cloth.
- Start by turning off the keyboard (or unplug it) and hold it upright. Use the cleaning toothbrush to brush debris out of the keyboard. Start at the top and brush your way to the bottom.
- Then, use a can of compressed air to blast out any stuck debris; make sure to use quick blasts. Don’t shake the can, and always hold it upright.
- After that, lightly spray a microfiber cloth with a 50/50 mix of rubbing alcohol and water. Rub the cloth up and down the board and keys and use a circular motion to buff out any stubborn spots. Try to get rid of any oily marks, drips and fingerprints. Buff dry if necessary.
- Finally, lightly mist a cotton swab with the 50/50 mix and use it to get in between keys to remove any final debris or stains.
Check out our E-Book 50 DIY Cleaning Recipes for more homemade cleaning solutions that will save you a ton of time and money!
Remember to always spray away from the electronic!
About once a year, pop the keys off the keyboard one by one to expose the base of the keyboard and to give yourself the opportunity to clean each button individually. Yes, this does take a bit of time but it is worth it. Not only is the build up gross (see video) but it can cause sticky or malfunctioning keys. Use a flat object to wedge gently underneath the key and it should pop right off. Use a cleaning toothbrush to remove the debris and build up and clean the keys with a microfiber cloth using that 50/50 mix. Replace they keys and you’re good to go!
If you’re looking for quality micfrofiber cloths that will last, then you have to check out Maker’s Clean Premium Cloth Bundle!
As part of our Electronics Cleaning Essentials, we’ll show you the proper, basic way to clean and maintain a keyboard.
Please note: this video does not go in to complex cleaning issues – if you have a specific question that was not answered in the video, please leave us a comment and we’ll provide you with a more specific answer.
Here are some more articles on cleaning electronics and gadgets!
Looking for a BETTER & EASIER Way to Clean Your Home?
Cleaning Expert Melissa Maker is here to help with her game-changing 3 Wave Cleaning System that will help you clean your house faster and easier than you ever thought possible!










Have you tried the cleaning gel type material for keyboard cleaning? is it worth the money or just a rip off?
It might be a good idea to photograph your keyboard before taking it all apart. There is no such thing as a universal keyboard. If you want to wipe your keys or keyboard, use a damp, soft cloth, such as a microfiber. These keys have a special coating to prevent letters from coming off.
Use only a damp, soft cloth, like microfiber, to wipe the keys and keyboard. There’s a special coating on the keys that prevent the letters.
Love the idea of using a toothbrush to help get the gunk and dirt out from the keyboard. Thanks for sharing!
[…] These are possibly the worst offenders when it comes to being harbingers of germs. We have posts designed to teach people how to clean their electronics and disinfect them safely and properly. Check the post out here! […]
Have you tried the keyboard cleaners from eklenz.com? I think they do a better job than a cotton swab as they get between the keys much more easily.
ooo…taking a pic is a good idea!
You might want to take a picture of your keyboard first before you take off all the keys. Not all keyboards are the same.
Cleaning a keyboard is hard strenuous work and you made it really easy.